I’ve been experimenting with watercolour again. This time I used one of Julie’s photos of a ragged poppy as my reference.
It is a simple pen drawing, with hatching and cross hatching, overlaid with Cotman watercolours, on cold pressed paper – the usual line and wash technique. The colours turned out well, and I lifted some areas in the red for highlights. The background was initially a bit heavy but after a little tinkering, it is now more pleasing.
Still not my favourite medium, but hopefully it will grow on me.
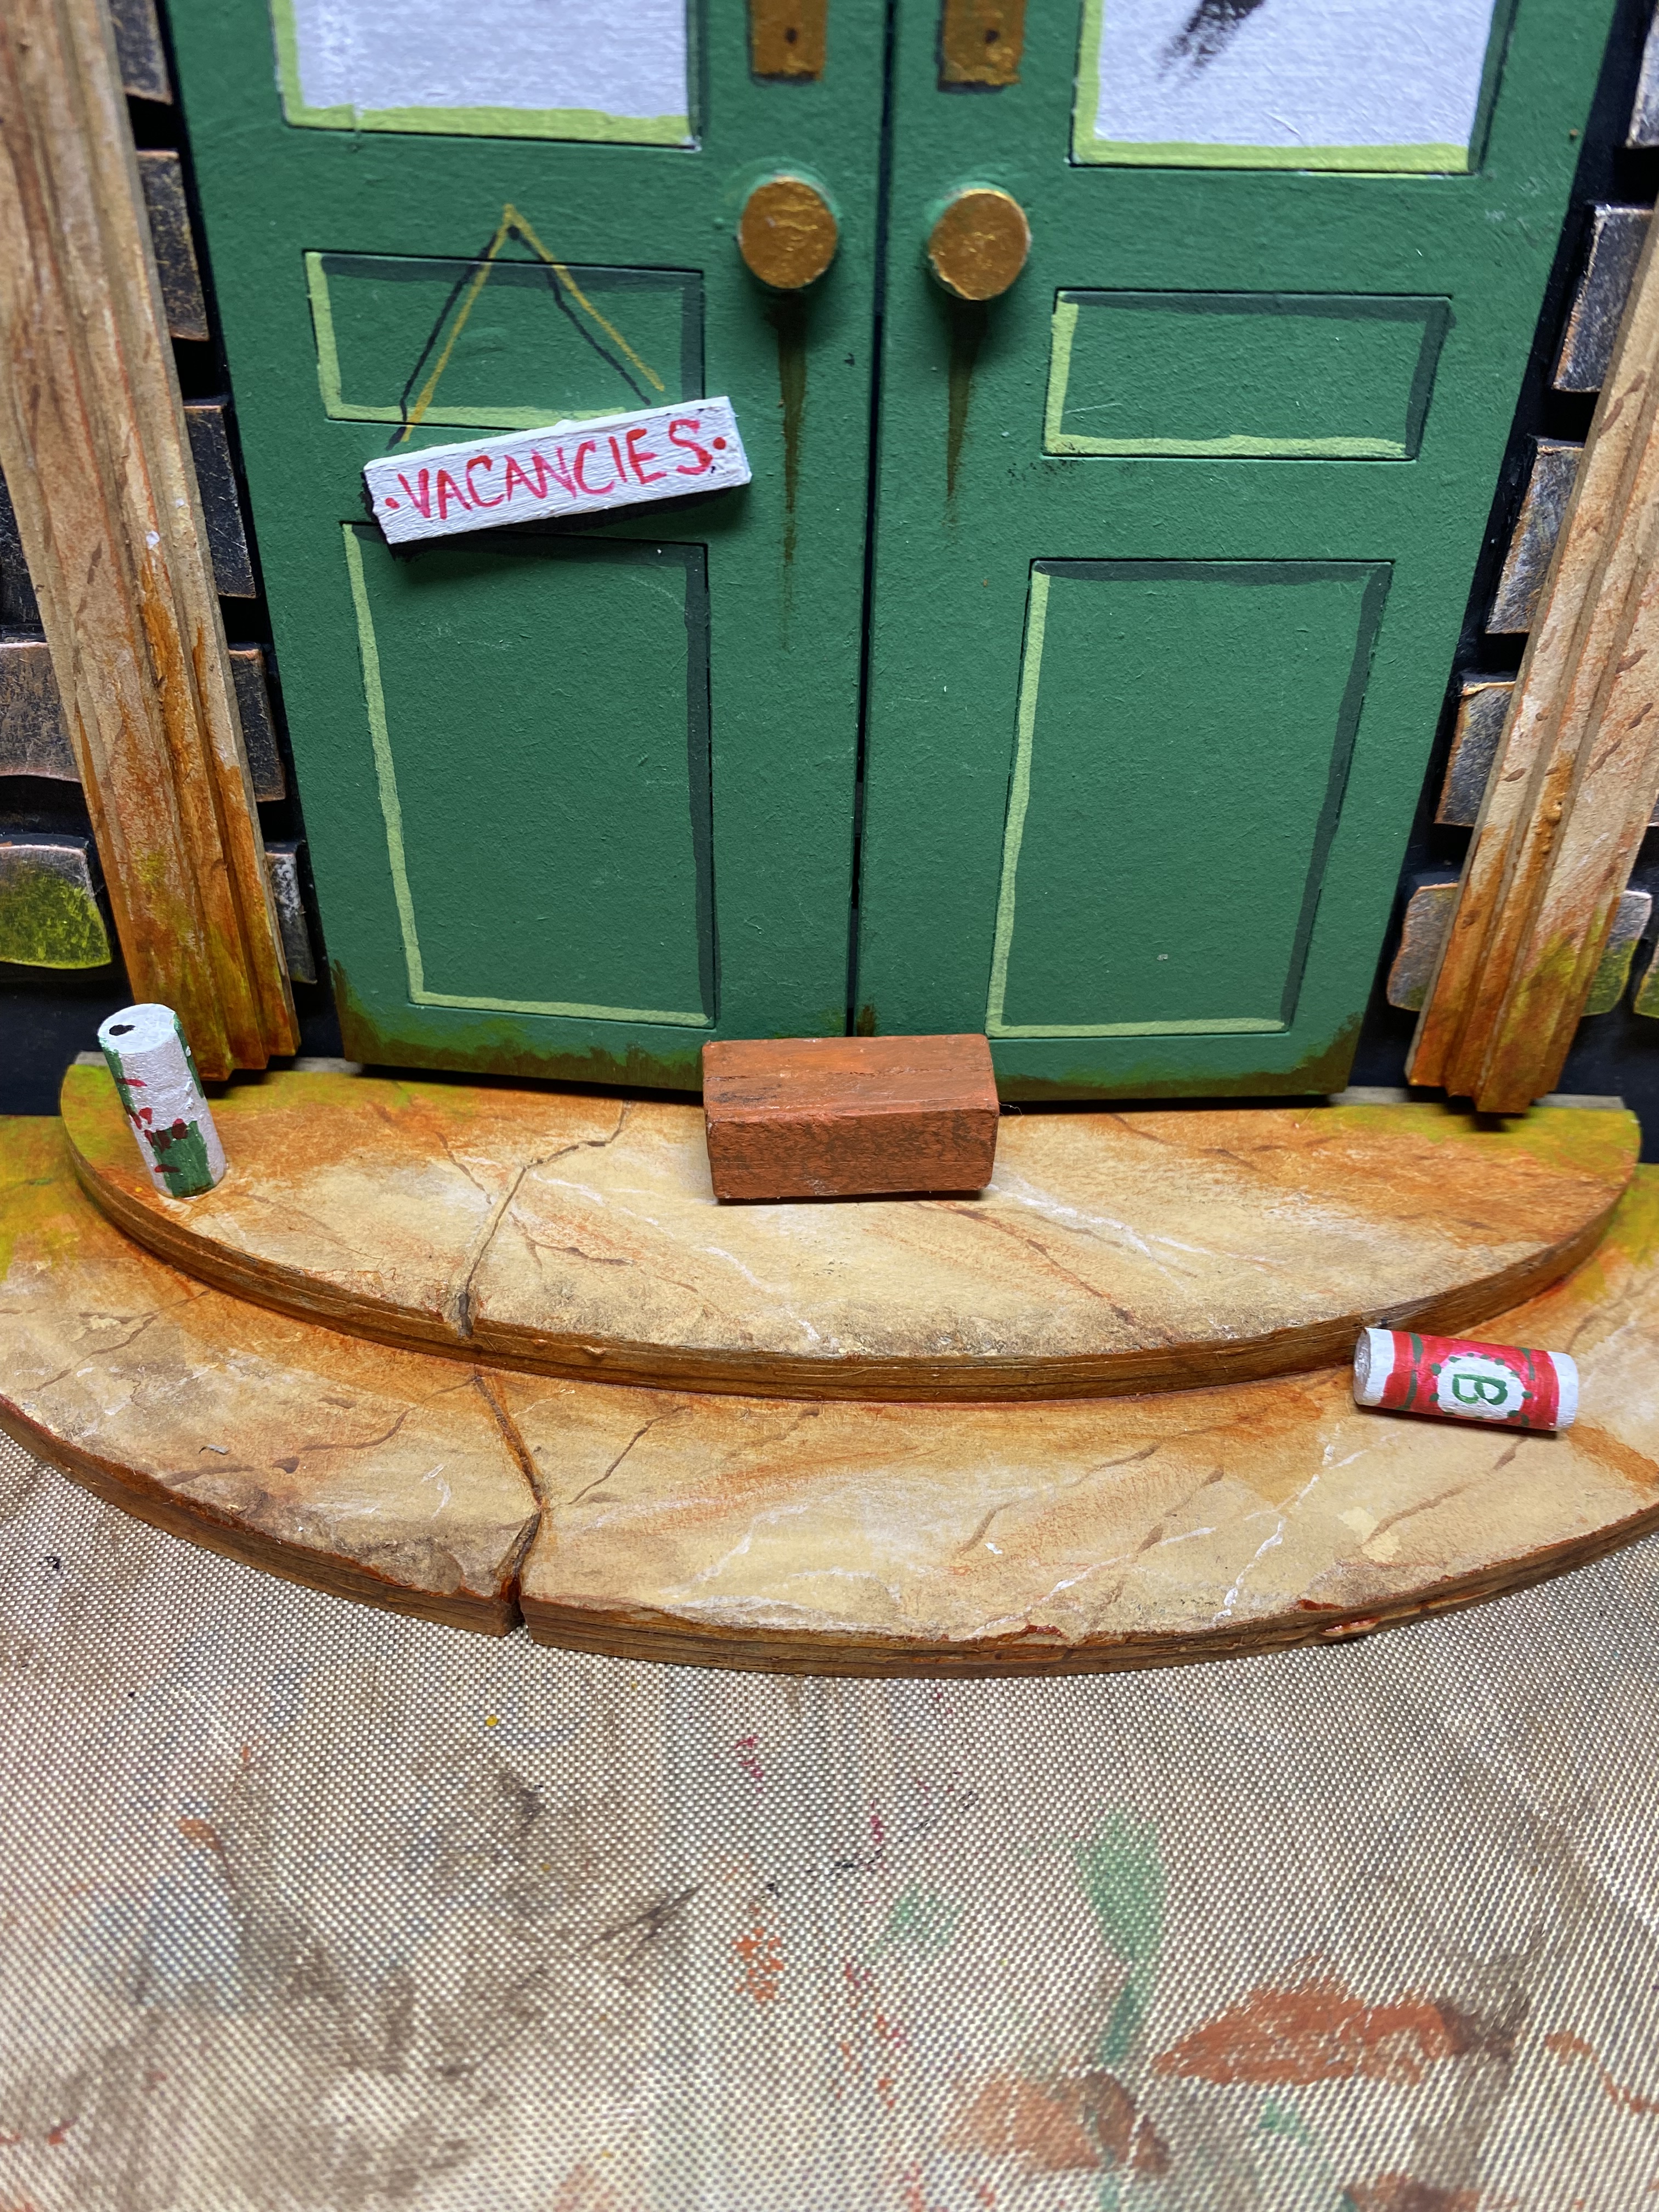
Oh, good! Vacancies. I’m sure this will be a nice place to stay … or not.
Long time, no Tando! Di needed some samples at short-ish notice for a Create and Craft TV show. She sent me the large standing door kit. Tando kits are made from sturdy grey board and will take whatever decorative treatment you put on it – so your imagination can run wild! I even hacked the step with a craft knife to create a crack.
Other members of the design team used papers and inks, I used paint – what else!
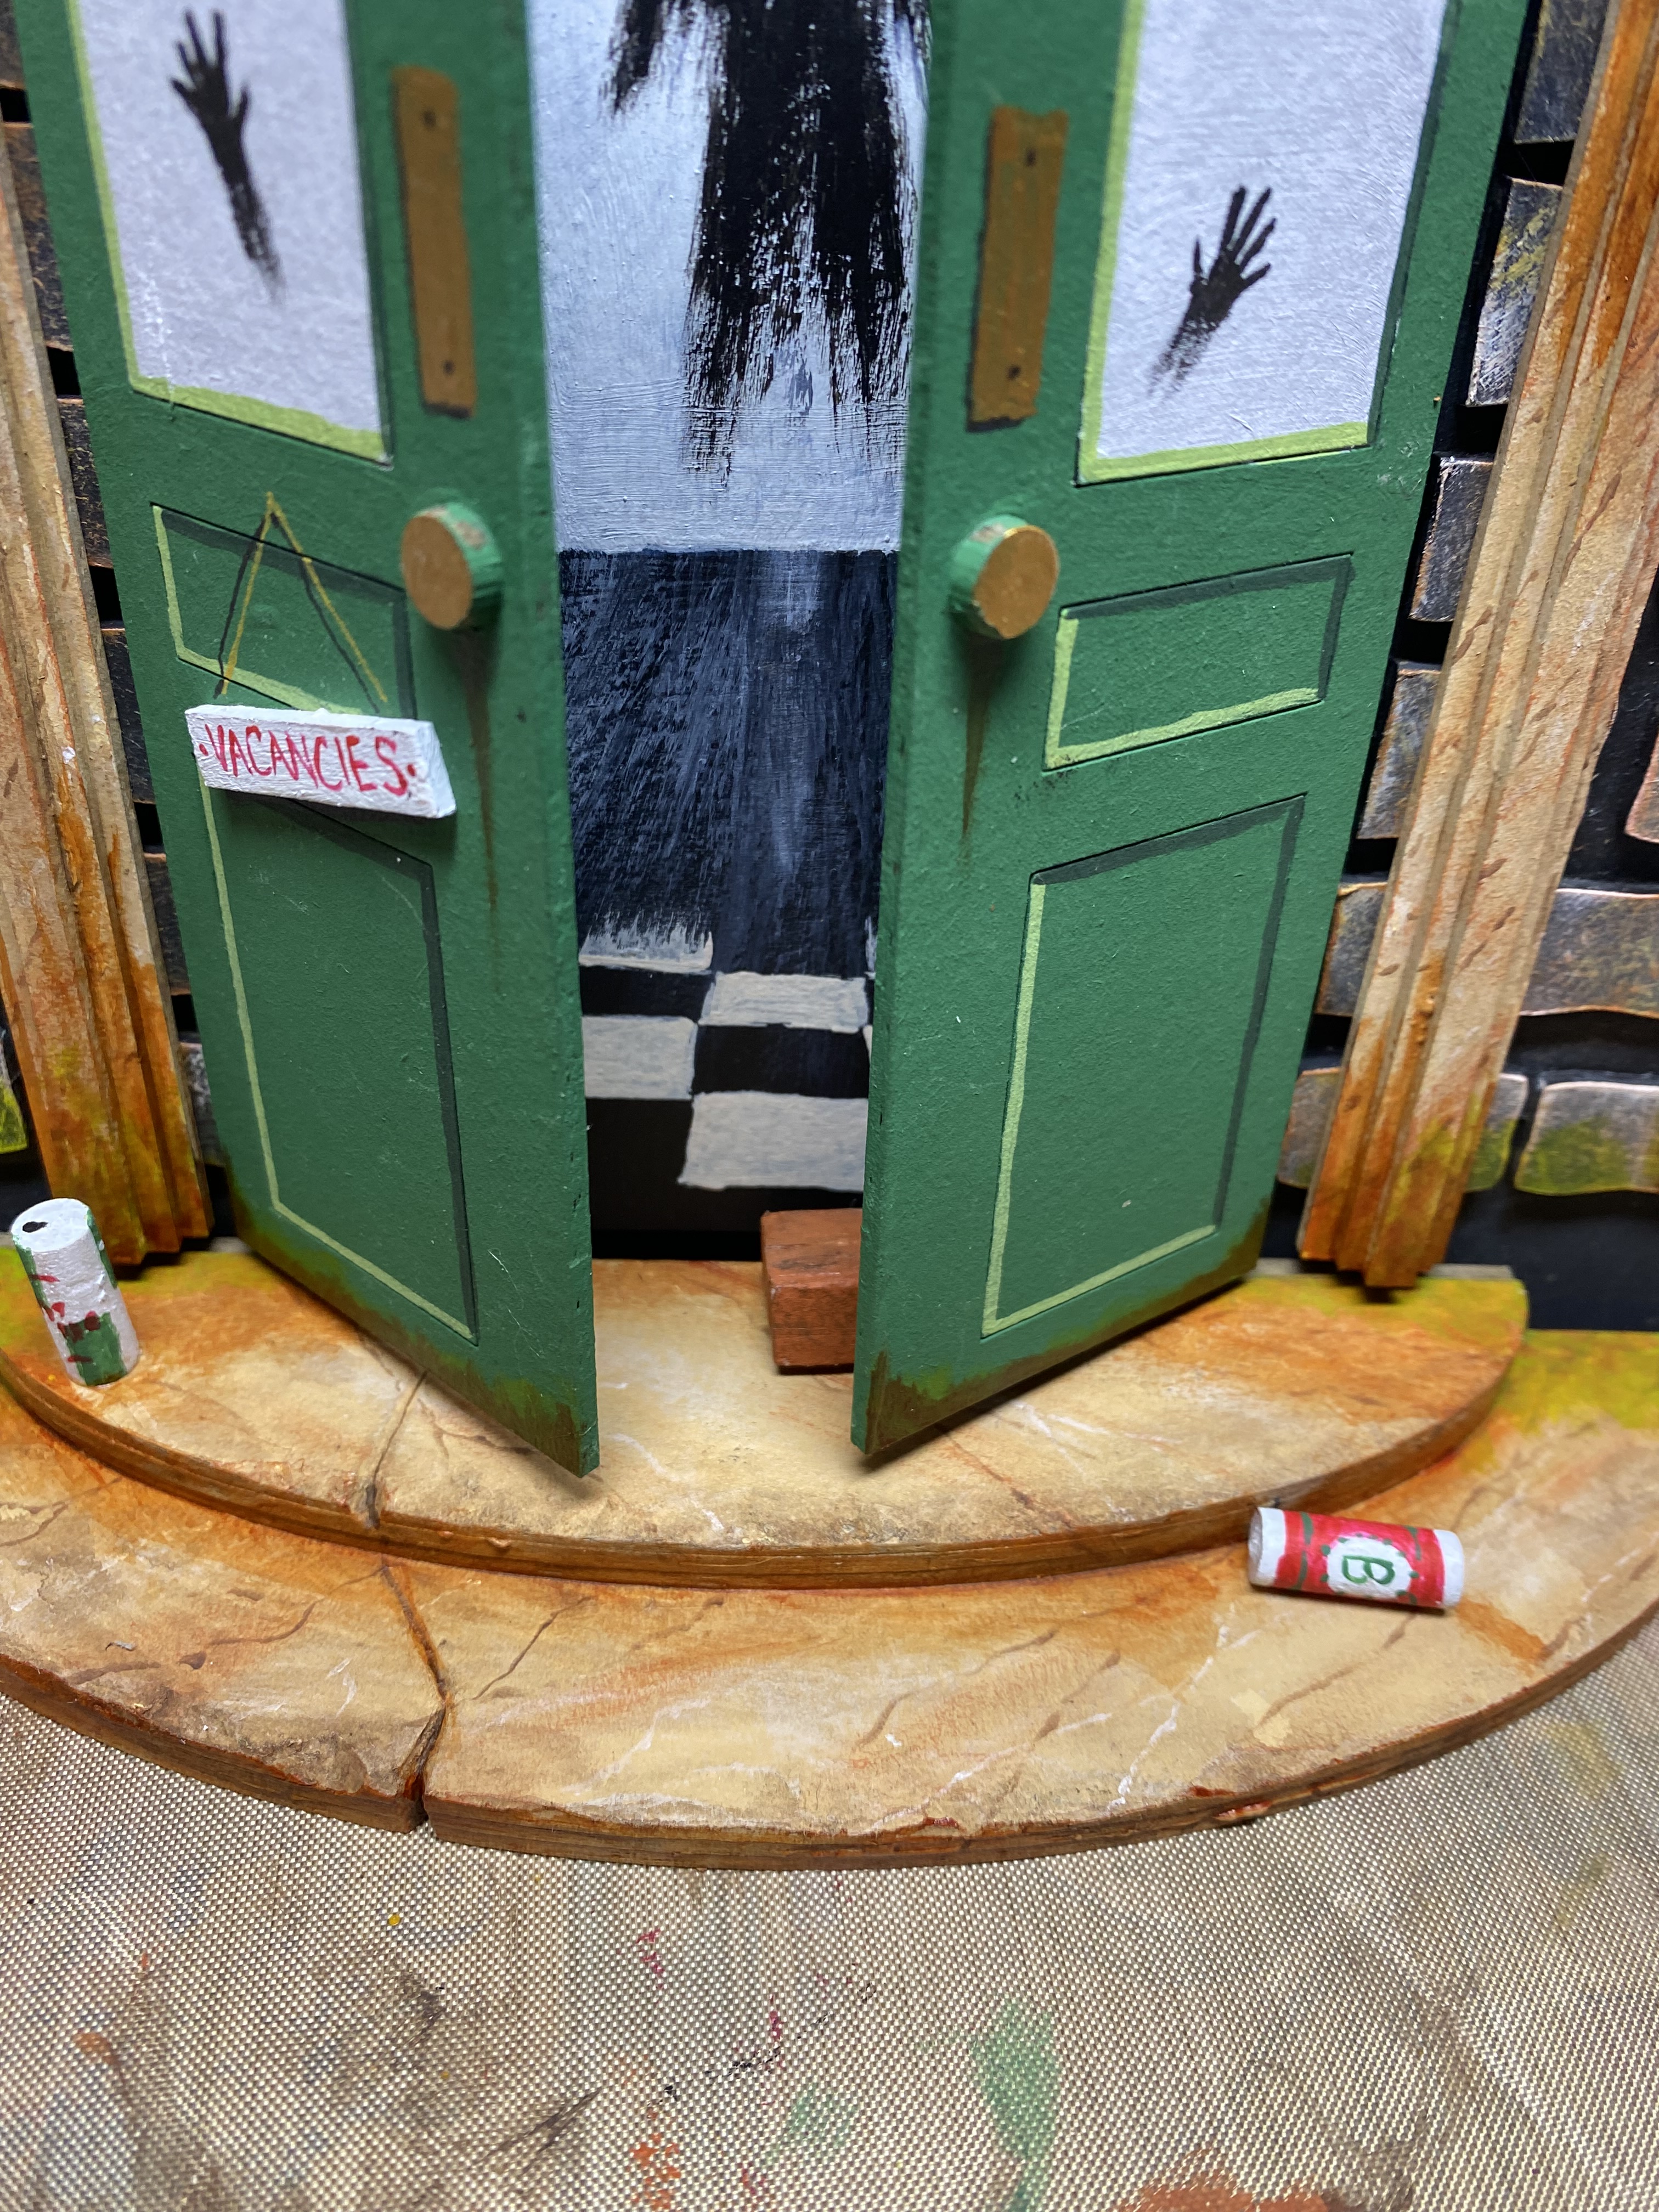
I decided that a spooky, horror hotel would be fun, so here is The Phantom’s Inn. The bricks are base coated in black, then dry brushed with colours to make them look like old stone. The arch, pillars, and steps are marbled – a faux effect to look like real marble. I dirtied it with a wash of Burnt Umber. A couple of old beer cans decorate the steps. The frosted glass of the doors show the hands of a customer who has decided not to stay – but the doors seem to be held shut with a brick. If we open the door we see the phantom looming along the passage.
It was finished and posted in good time and was proudly displayed, centre stage, for the show, alongside all the other design team samples. Let’s hope Tando sold loads.
Check out Tando’s web site for all the super goodies available.
This 1950s garden sprayer sits in the corner, mostly ignored and unnoticed, but I needed a subject with reflections and highlights for a still-life experiment.
So this pulveriseur à haute pression gets centre stage in this small, acrylic on canvas painting. With reflections they say, ‘just paint what you see’. So I did and this is the result, so far.
I have more to do – there is another item, or peut etre, deux, to add to the picture, so it may re-appear in a future post.
I’ve had a bit of a run on the sketchbook, there were no other requests pending so it has been a good time to experiment and do some drawings for myself.
In the last Sketchbooking post I showed the tulip and bee, and the peony. One stippling, one hatching. This time there are another two completely different ideas.
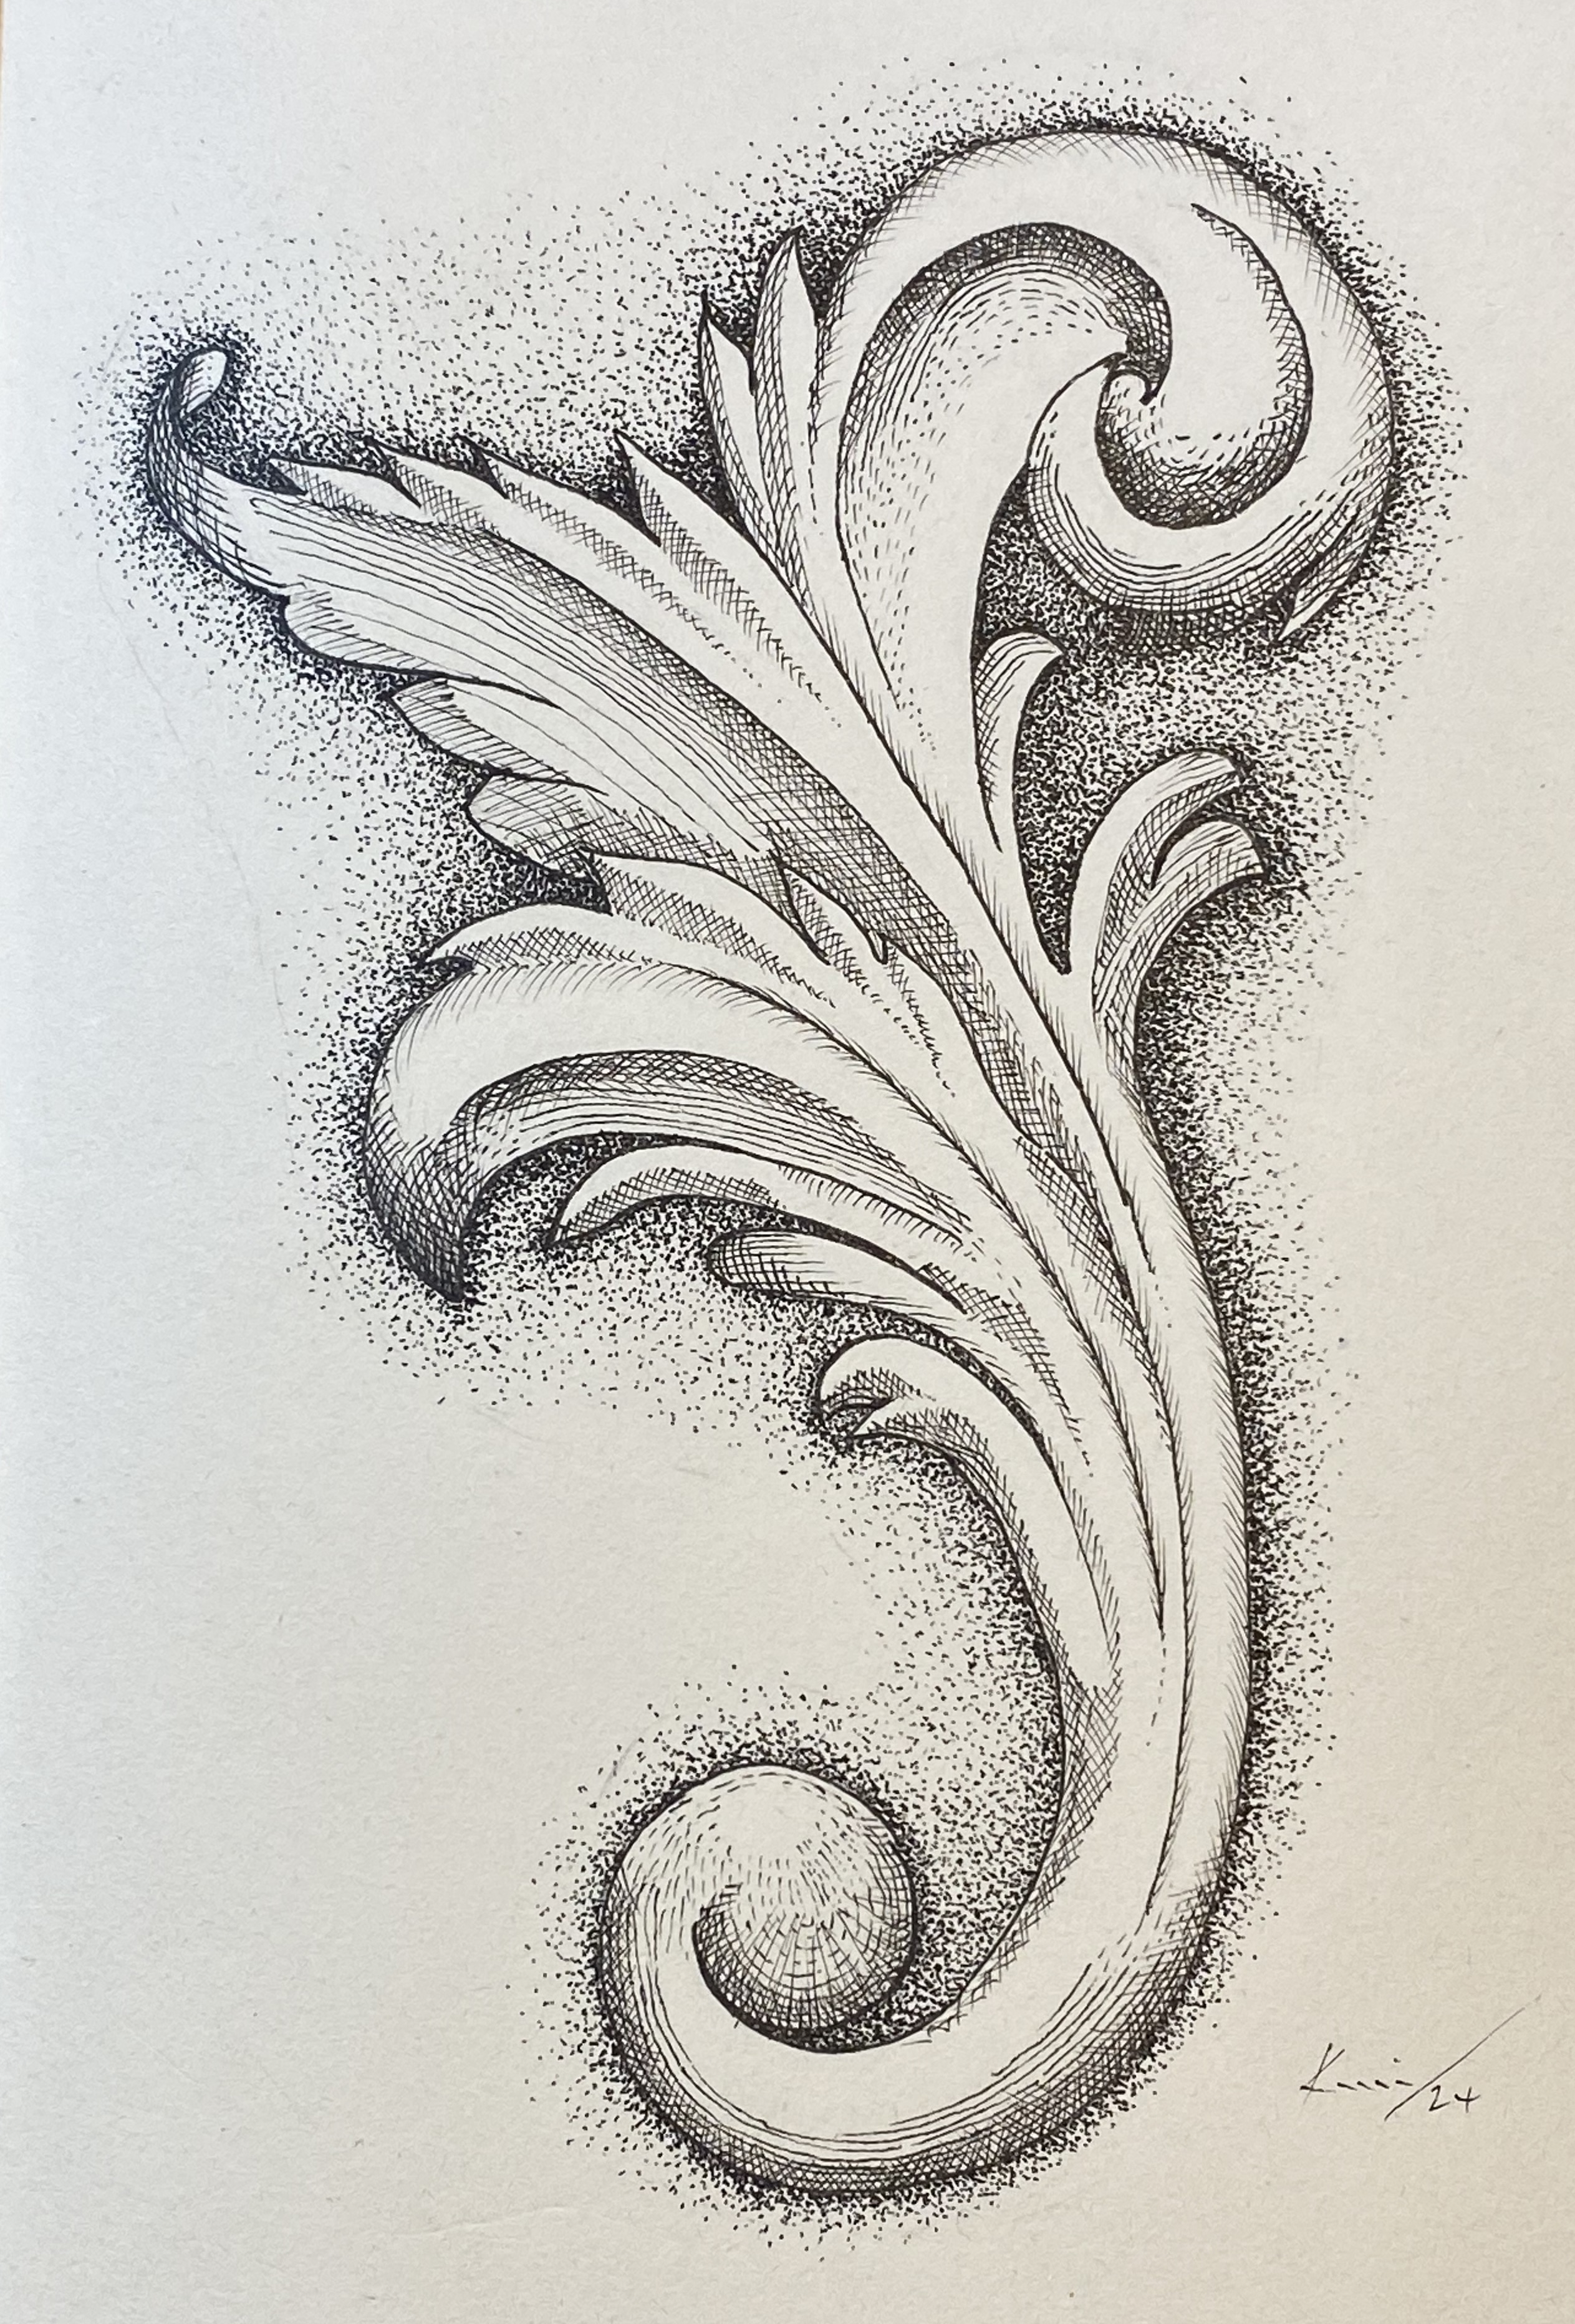
First I tried an architectural scroll, sometimes likened to acanthus leaves, from classical designs. I stippled the background shading, but wanted to try hatching lines for the contours. I wasn’t sure if the two techniques would work together, but I was pleased with the overall effect. What do you think?
The second is a rose. This time I thought the subject needed a softer look, so it was back to stippling all the way. The paper of the sketchbook is not the best quality and consequently the stippling was not as sharp as it could be, so I outlined the rose for better definition.
As the rose was quite life-like I added leaves in as natural looking way as I could. This was an interesting exercise as I was working from memory. Again, I am satisfied with the finished piece – but want to try a similar picture with hatching lines.
I will put away the sketchbook for a while as I have to attend to other projects, but I have enjoyed the experience and found it useful. So these won’t be the last sketches, watch this space.
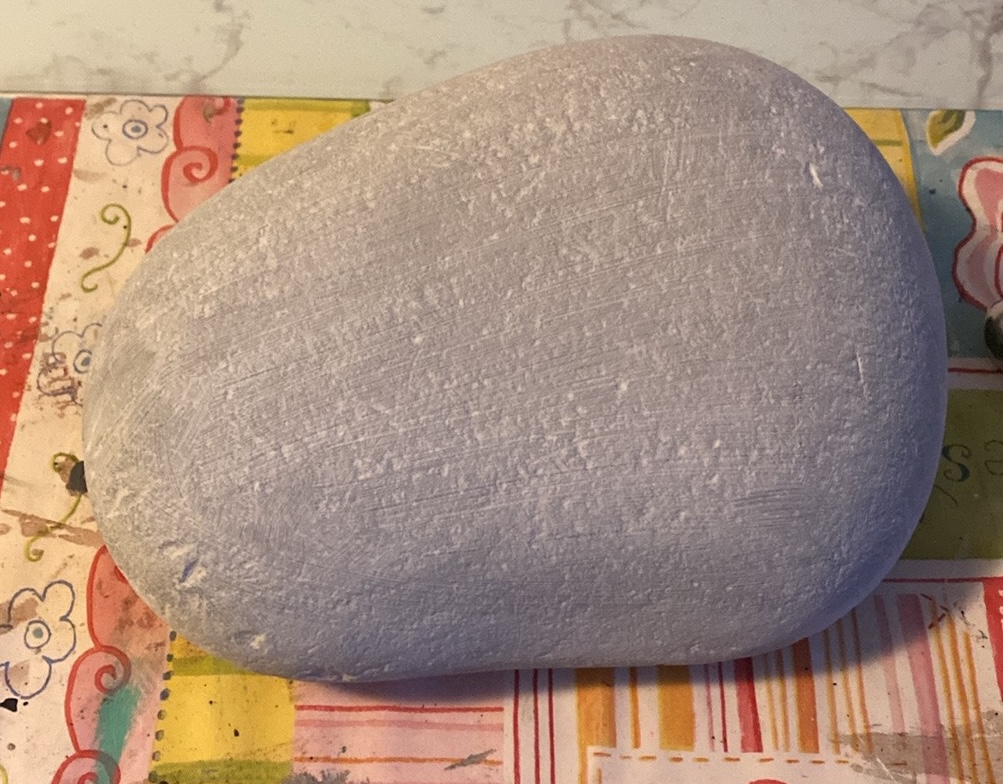
Sometimes I get some unusual requests. This time it was to turn a 320 million-ish year old carboniferous sandstone boulder into a cat. Derren Brown, eat your heart out! Although, in reality, no illusions or mindgames were harmed in this transformation.
It isn’t something I’d tried before. I had seen similar paintings and admired the handywork of the artists who created them, so I knew it could be done.
Dawn, who requested the cat, asked if it could look like her late ginger, ‘Marmy’, so that set the colour scheme. First I washed the stone and gave it a day or so to completely dry. Next a coat of gesso, and a base coat of Burnt Orange.
It took a while to get the features marked out in pencil, then I tried to apply colour. Ordinary painting with acrylic and brush wasn’t working for me, and I eventually completed the design with coloured pencils (mainly Karismacolor and Polychromos). The hard and abrasive surface, even after base coating, was not kind to my pencils and I spent a lot of time keeping the points sharp.
I finished with a spray fixative to hold the colour, then sealed with DecoArt ‘Soft Touch’ varnish.
So, another learning experience, turning rocks into cats, using only pencils. Could this be the oldest cat ever discovered? What name would you give him … Sylvester (Rocky Stallone)? Dwayne (‘The Rock’ Johnson)?
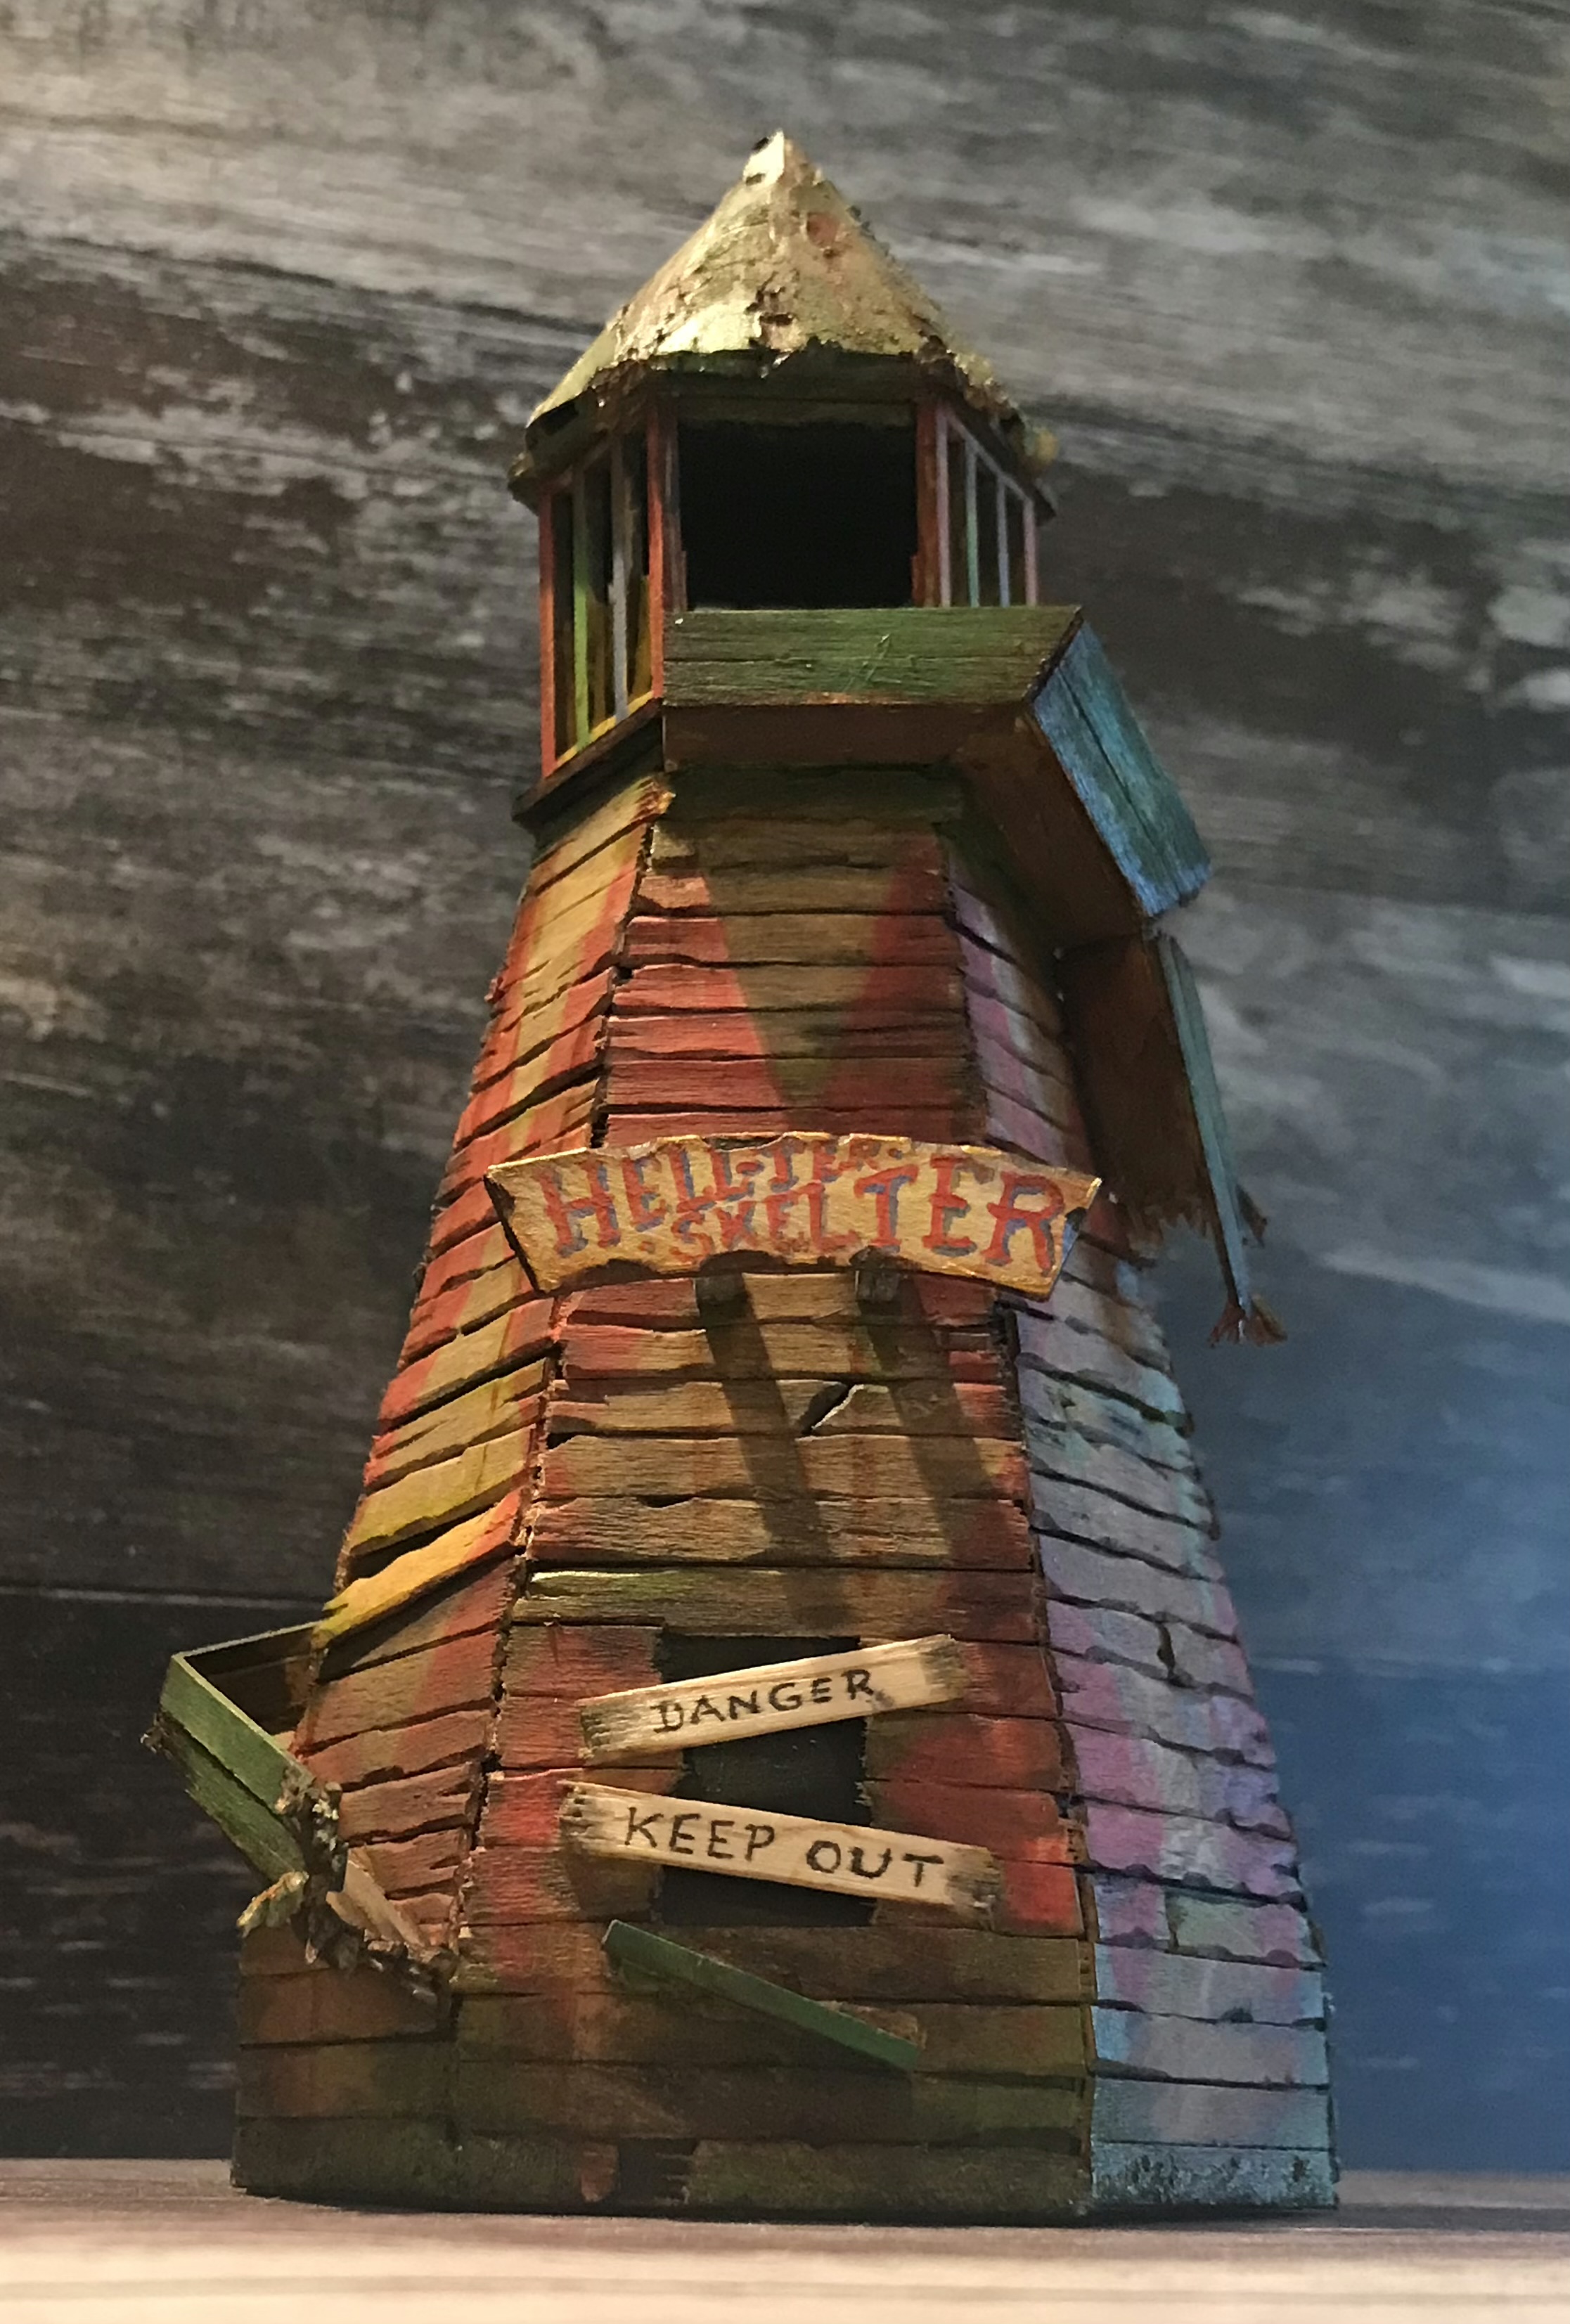
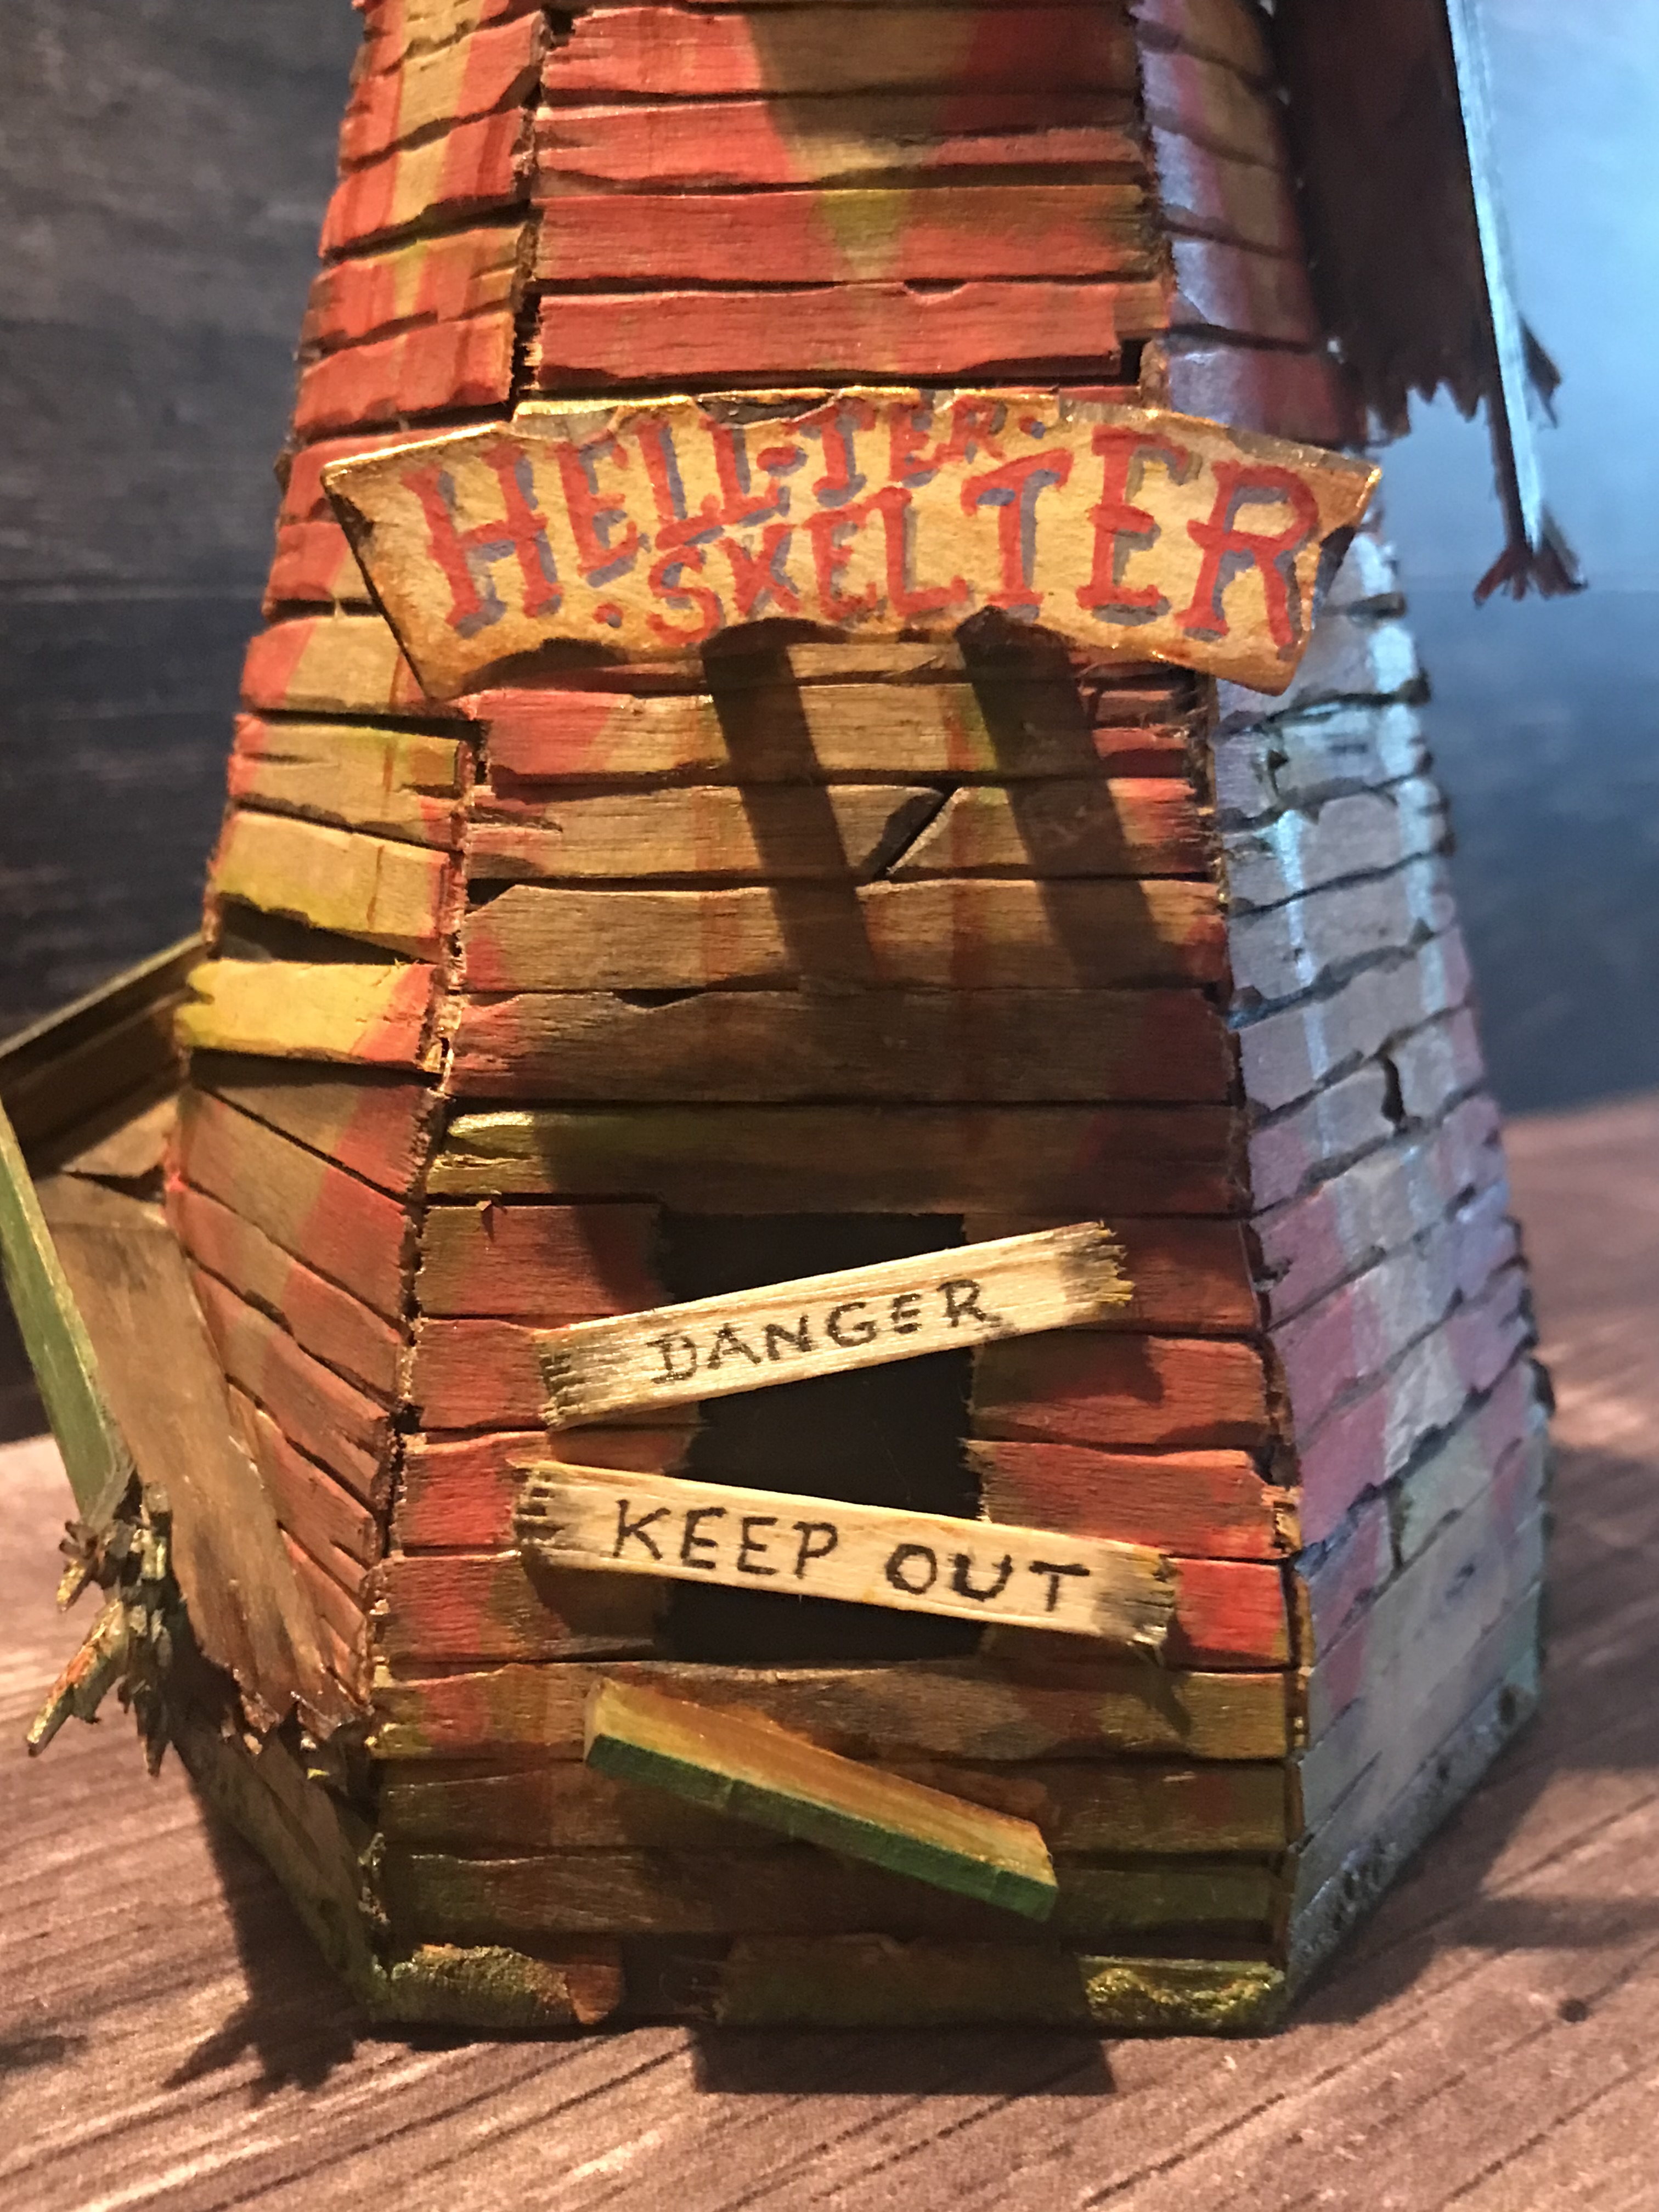
“Roll up! Roll up, for all the fun of the fair – if you dare! I present to you, ladies and gentlemen – The Hell-ter Skelter – in all its glorious dilapidation and decay!”
This is my latest creation for the Tando Creative Design Team, in the Hex Tech series. I used the tower constructed with the various sized hexagon flat shapes from Tando (for construction of the tower visit tando-creative.blogspot.com ). It took some time to get all the planks on but I think it was worth the effort – what do you think?
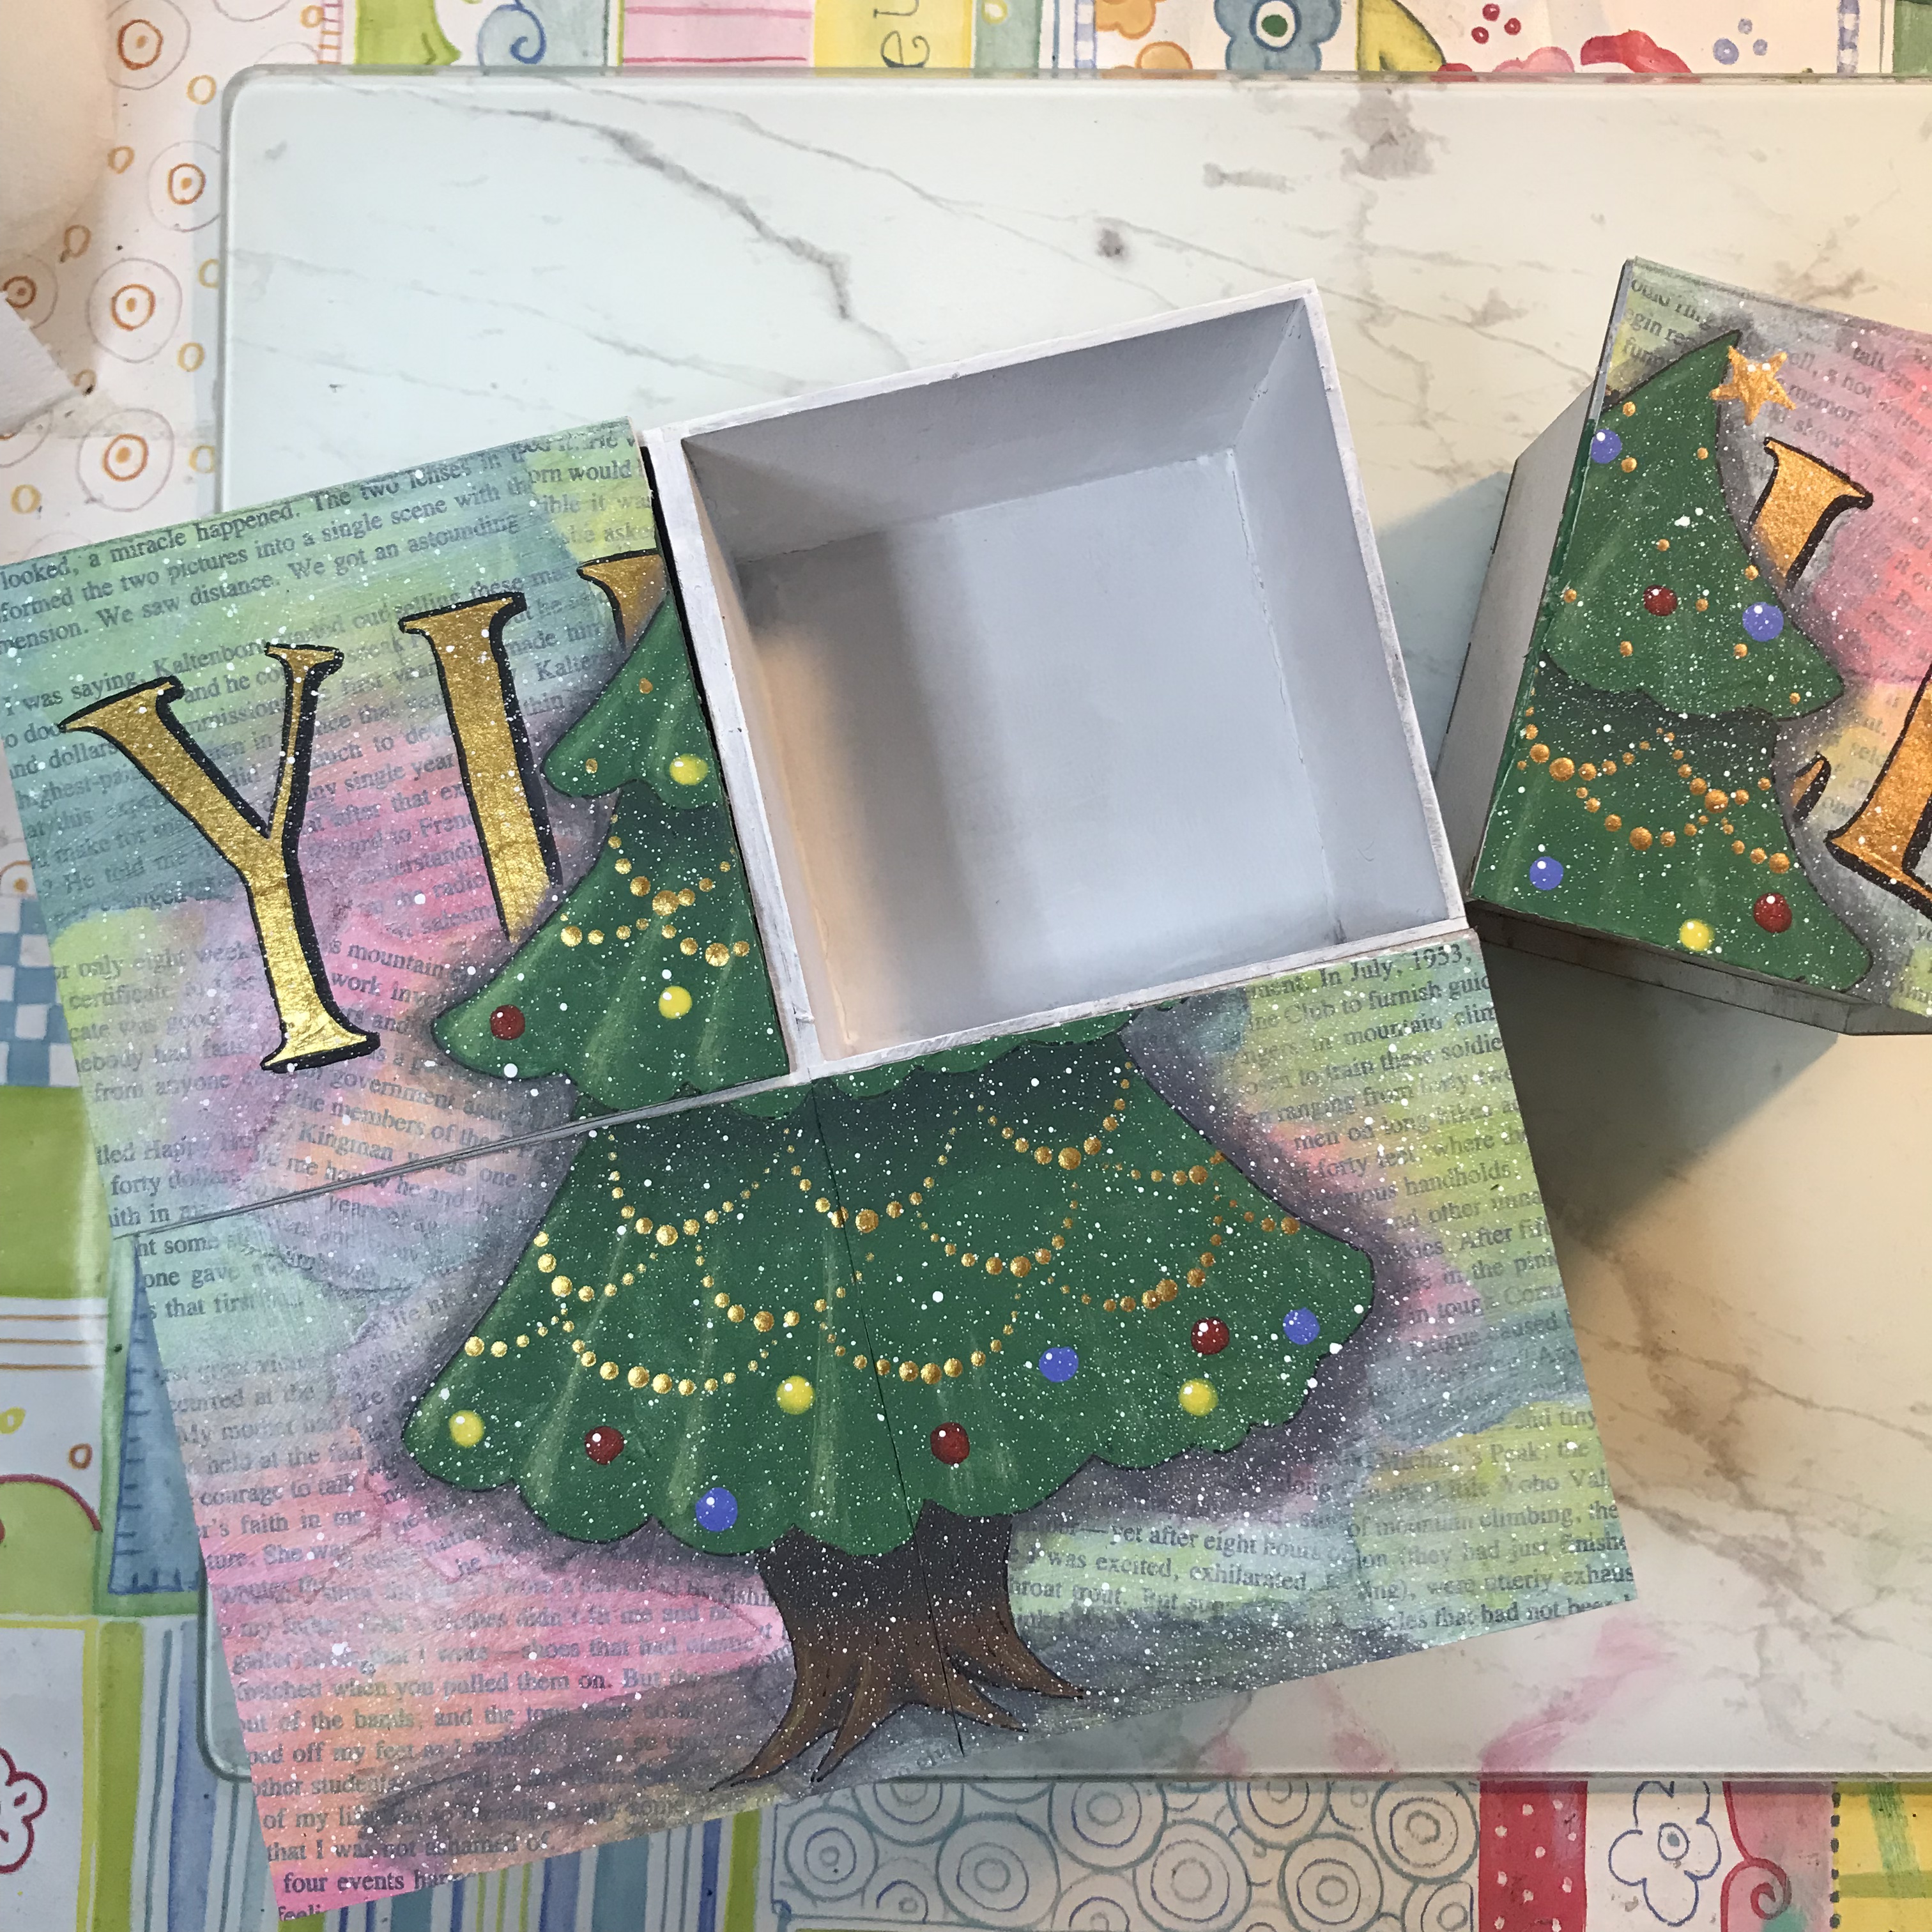
It’s approaching that time of year. Glittery, sparkly things are beginning to appear and all sense and sensibility is going out of the window. But here is my last offering in the 24 Boxes of Advent series – four boxes in one.
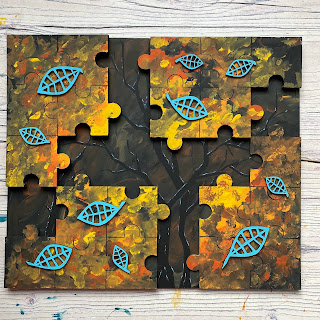
I had plans for Tando’s Jigsaw Puzzle kit – I was going to use photographs and ephemera and antiquing techniques … but it didn’t happen as I hoped, so I did this instead.
First, I wanted to have some 3D effects in the jigsaw for added interest. I put the puzzle together then separated it in to four sections of five pieces. I glued the sections to thick cardboard to get varying thicknesses. One had no extra cardboard, the next 1 layer, the next 2 layers, and the last 3 layers.
The backboard would normally frame the puzzle, but I spread the sections out to the corners leaving a space in the middle. I marked this space on the backboard.
My idea was to be looking through the puzzle to a dark forest scene behind, so I painted the visible area (no point painting the rest) with Lamp Black, Burnt Orange, and White in a scumbled, blended manner. Then I painted on the bare tree branches in Lamp Black, highlighted with Zinc grey where the light catches them.
The puzzle sections are painted to look like falling autumnal leaves. I set out Lamp Black, Burnt Orange, Tangerine, and Primary Yellow on my pallet and used a slip-slop technique to create the effect. I started with the lighter colours near the centre, getting darker towards the corners.
Before I stuck the sections to the backboard I painted the edges black, and accentuated the joins in the puzzle pieces with black, too.
As a super contrast I used a set of Tando’s Leaf Branch, Cut Out Leaves. I cut each leaf from the branch with a craft knife (very carefully!).
I painted the front with Indian Turquoise, and the edges with black. I arranged them on the project and when I was pleased with the layout I stuck them on.
A great autumnal and Halloween picture to get you started on spooky season. I hope you enjoyed the project. Let us know how you get on.
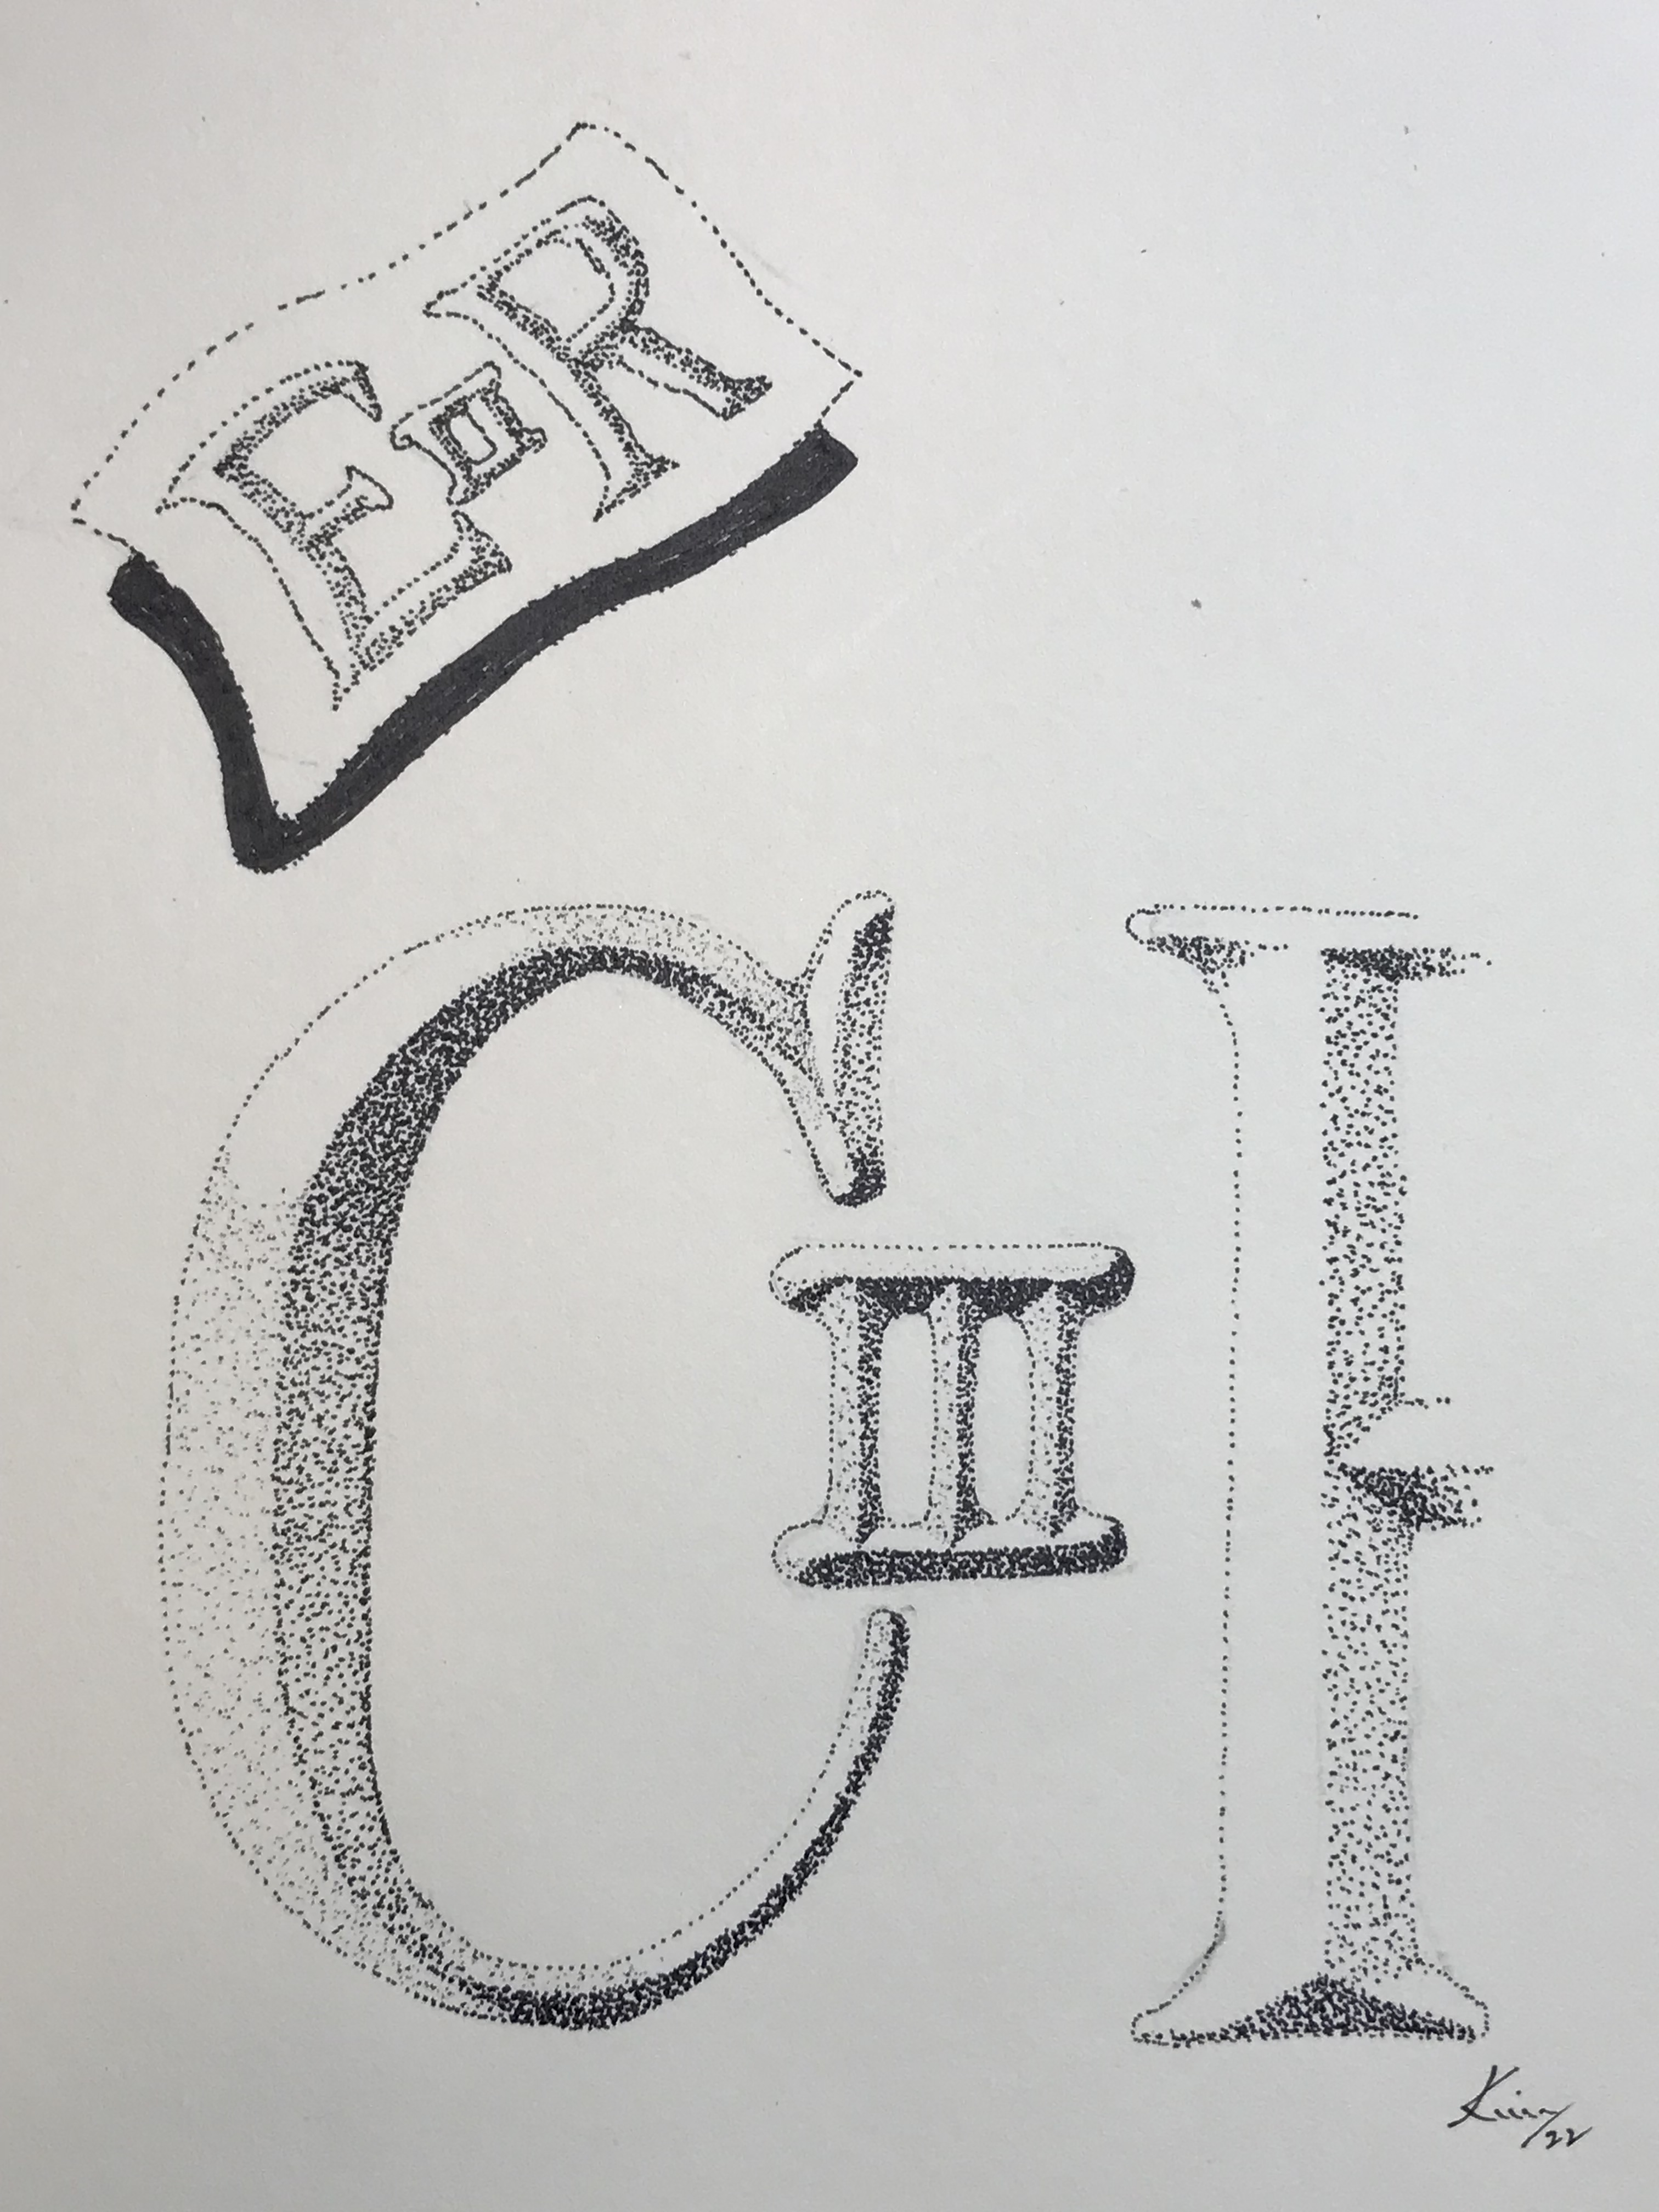
This piece was for a quick sketch challenge with the prompt, ‘Back to the drawing board’. It just happened to be the day after the sad death of HM Queen Elizabeth II.
Her Majesty’s death will bring forward so many changes – and this was my response to that, and the ascension of King Charles III. Long live the King!
Another one for the ’24 Boxes of Advent’ series. This time we take a look at how the Cornish Piskies are preparing for the mid-winter celebrations. I tried out a new tool, a Dremel, on the greyboard to create the stone wall texture. Worked well, I think.
I’ve made this one into a diorama, take a peek inside.